Custom fonts are a fantastic way to infuse personality and uniqueness into your Showit website. Whether you’re creating a brand identity or just adding a touch of flair, using custom fonts can elevate your design. In this tutorial, we’ll walk you through the process of purchasing, preparing, and uploading a custom font to your Showit site.
Step 1: Purchase a Custom Font
Before you can upload a custom font to Showit, you need to find and purchase a font that fits your brand. Here are a few places where you can purchase high-quality fonts:
- Creative Market: A popular marketplace with a vast selection of unique fonts from independent designers.
- MyFonts: Offers a wide variety of fonts, including exclusive and trending options.
- Fontspring: Known for fair licensing terms and a wide range of professional fonts.
When purchasing a font, ensure you obtain a webfont license that allows embedding on websites. This is crucial for legal usage on your Showit site.
Step 2: Check the Font File Format
Showit supports the .WOFF (Web Open Font Format) file type for custom fonts. Many font purchases include .OTF or .TTF formats, but these will need to be converted to .WOFF before uploading.
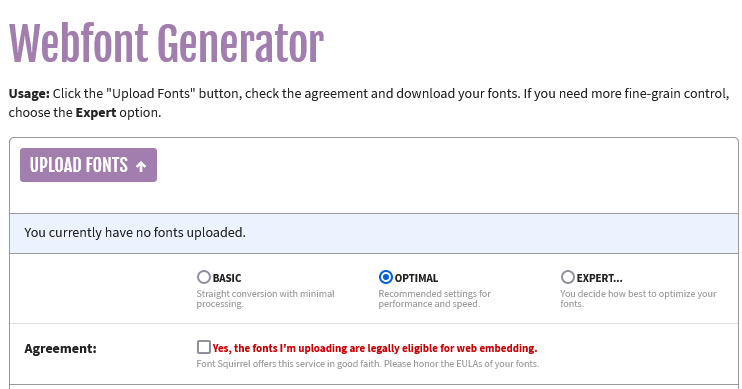
Step 3: Convert Font Files to .WOFF
If your font doesn’t include a .WOFF file, you can easily convert it using an online tool. Here are a few reliable options:
- Font Squirrel: Upload your font file, and it will generate
.WOFFfiles for you. - Transfonter: A simple and user-friendly tool for converting font files to web formats.
To convert:
- Upload your
.OTFor.TTFfile. - Select the
.WOFFoutput format. - Download the converted
.WOFFfile.

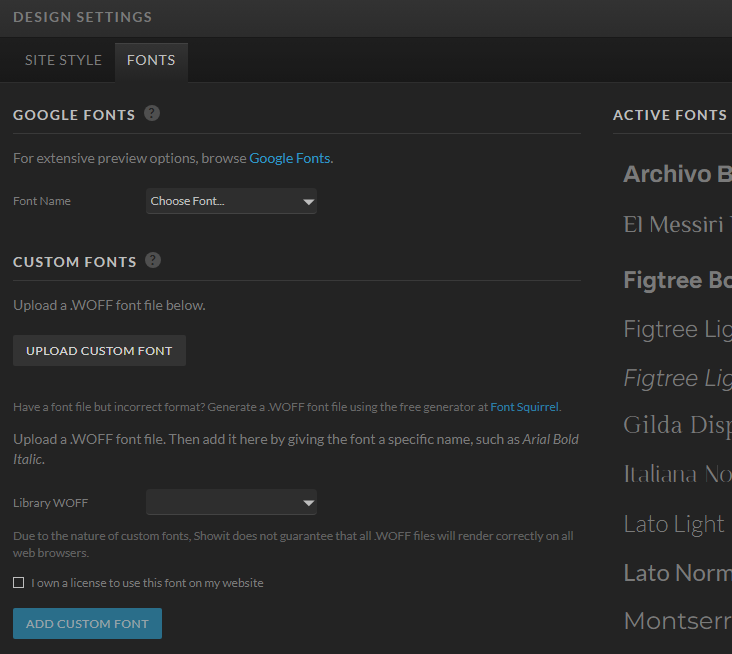
Step 4: Upload the Font to Showit
Now that you have your .WOFF file, it’s time to upload it to your Showit website.
- Open your Showit Dashboard and navigate to the Design Settings.
- In the Text tab, click on Manage Fonts at the bottom of the font list.
- Click Upload Font and select your
.WOFFfile. - Name your font for easy identification and save.

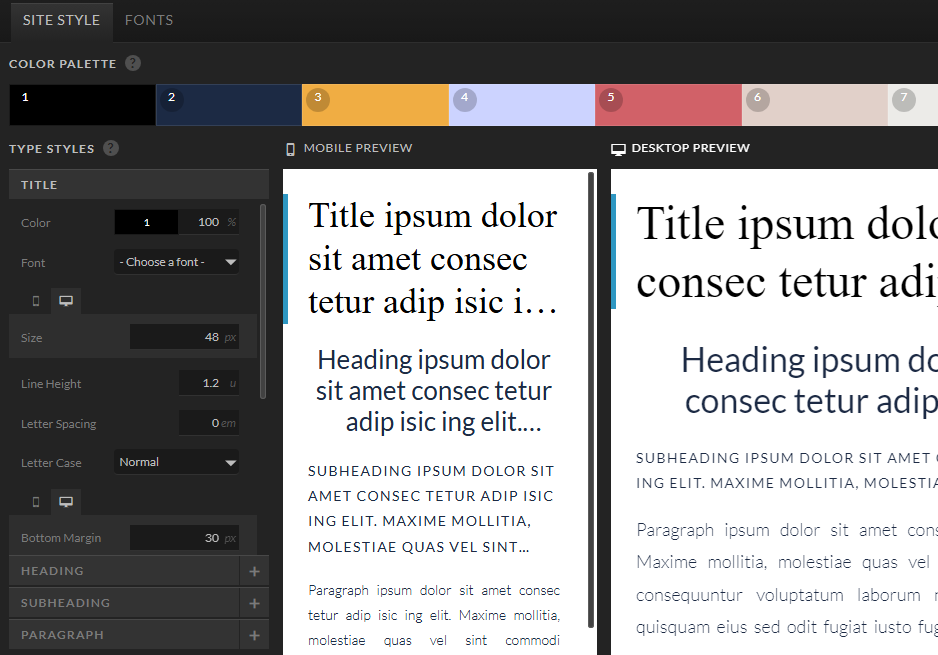
Step 5: Set Up Your Font in Showit
After uploading your custom font, you can apply it to your website design:
- In the Text tab of Design Settings, locate your uploaded font under the “Custom Fonts” section.
- Assign the custom font to headings, body text, or any other text style in your design.
- Preview your changes to ensure the font displays correctly.

Final Tips
- Test Your Font: Always check your website on different devices and browsers to ensure the custom font renders properly.
- Keep a Backup: Save a copy of your font file and license information in case you need to re-upload it later.
By following these steps, you can seamlessly integrate a custom font into your Showit website and create a design that truly reflects your brand. Happy designing!